Drywall and Taping: What a Smooth, Paint-Ready Finish Takes
How drywall and taping actually work in a Red Deer renovation: boarding, taping levels, mudding, sanding, and why the finish under your paint decides how it looks.
By David Hutten, Owner, Green Ladder Contractors
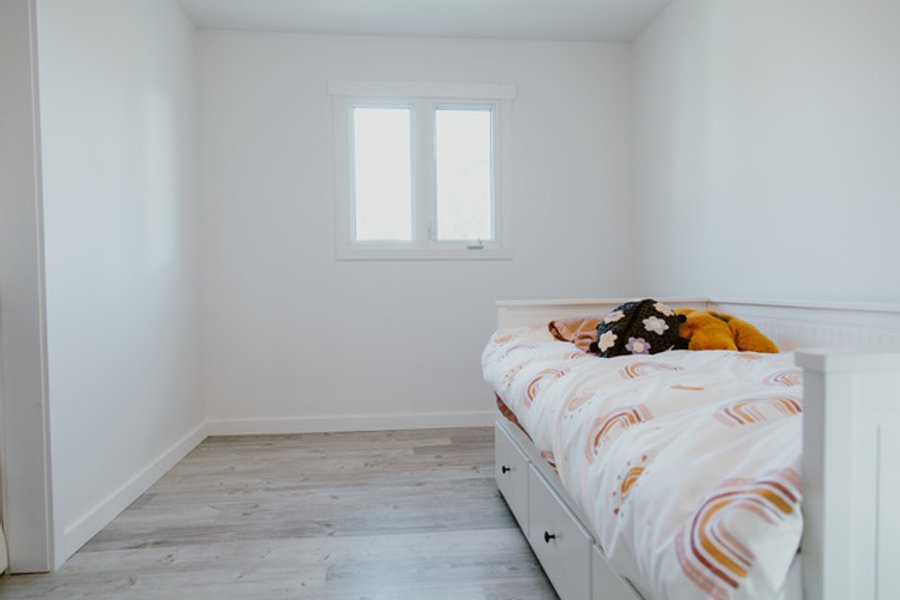
Nobody hires a renovator to look at their drywall. They hire us to look at the paint, the tile, and the trim. But every one of those finishes sits on top of drywall, and a wall that was boarded and taped poorly will show every flaw the second the paint goes on and the light hits it. Drywall is the quietest trade in a renovation and one of the most important. Here is what actually goes into a smooth, paint-ready wall in a Red Deer home.
Boarding: Hanging the Drywall
The first stage is boarding, hanging the sheets of drywall on the studs and ceiling. It sounds simple, but a few things separate a good board job from a lazy one:
- Screws, not nails, driven to the right depth so the head dimples the paper without breaking it. Overdriven screws that tear the paper hold nothing.
- Tight, planned seams. Fewer joints means less taping and fewer places to telegraph through the paint. A good boarder lays out the sheets to minimize seams and keeps them off the high-stress spots.
- The right board for the room. Standard board on most walls, moisture-resistant board in bathrooms and other wet areas, and the correct board where fire separation matters. Using the wrong board in a wet room is a problem you pay for later.
Taping and Mudding: Where the Finish Is Made
Once the board is up, the joints and screw heads get covered. This is taping, and it is the skilled part. Tape goes over every seam and inside corner, embedded in joint compound, which everyone calls mud. Then coats of mud go over the tape and the screw dimples, each one wider and feathered out past the last, so the joint disappears into the flat of the wall. Outside corners get a corner bead for a crisp, protected edge.
This is not one pass. A proper wall gets a taping coat, then usually two more mudding coats, with drying time between each. Rushing the coats or piling mud on too thick to save a step is exactly what leaves visible seams and bumps under the paint.
Taping Levels: What Finish You Are Actually Getting
There is an industry standard for how smooth a wall is finished, from Level 0 up to Level 5, and it is worth knowing because it is where corners get cut quietly.
- Level 4 is the standard for most walls in a home: taped, three coats of mud, sanded smooth, ready for a standard paint. This is what most Red Deer renovations should get on the walls.
- Level 5 adds a thin skim coat over the entire surface, not just the joints. It is the smoothest finish and it matters where light rakes across a wall, near big windows, on ceilings, and under glossy or very dark paint that shows every imperfection. It costs more because it is a whole extra coat over everything.
If someone finishes a wall to a lower level and paints it with a sheen, the flaws show. Matching the taping level to how the wall will be lit and painted is part of doing it right.
Sanding: The Dusty, Necessary Part
After the final mud coat dries, the walls get sanded flat, knocking down ridges and feathering the joints into the wall. This is the dustiest job in a renovation, full stop. Good crews sand carefully and use dust control, but drywall dust is fine and it travels, so we seal off the work area and expect to clean up after. A well-sanded wall feels dead flat when you run your hand across a seam, and that is what you want before primer.
Priming: The Bridge to Paint
The last step before paint is primer. Bare drywall and dried mud absorb paint differently, so priming evens out the surface so the finish coats go on uniform. Skip the primer and the taped joints can flash through as dull patches in the paint, a common reason a fresh paint job looks blotchy in raking light.
The Central Alberta Factor
Our dry winter air is actually good for drywall, because mud needs to dry between coats and it dries fast in a heated Alberta home in January. That is one reason winter is our busy interior season here. The flip side: the same dry air and the big seasonal humidity swing can stress a wall, so proper taping and fastening matter more, not less, in this climate. Popped screws and cracked corners a year later usually trace back to a rushed board or tape job, not the weather.
Frequently Asked Questions
Why can I see the seams through my paint?
Almost always an under-taped or under-sanded wall, or one that was not primed. The fix is more mud coats, proper sanding, and primer before paint.
What is the difference between Level 4 and Level 5?
Level 4 finishes the joints and screws. Level 5 skim-coats the entire wall for the smoothest result, which matters under raking light and glossy or dark paint.
Do I need Level 5 everywhere?
No. Level 4 is right for most walls. Level 5 pays off on ceilings, near big windows, and under high-sheen or very dark colours.
Is the drywall dust really that bad?
Sanding is the dustiest part of any reno. We seal the area and use dust control, but expect some cleanup. It is temporary.
Planning a renovation that involves new walls or repairs? Book an in-home consultation with Green Ladder. We will look at your Red Deer project and make sure the drywall and taping are finished to the right level for how the room will actually be painted and lit.
Interior Renovations
Basement development, kitchen and bathroom remodels, and whole-home interior renovations across Red Deer and Central Alberta.
See Our Interior Renovations Work →Before you sign a quote: What a complete interior renovation quote includes
More from the Green Ladder Blog
David Hutten
Owner, Green Ladder Contractors
David Hutten started building at age 10 and has 25 years of hands-on construction experience. Green Ladder Contractors builds custom outdoor living spaces, decks, fences, pergolas, and landscaping, across Red Deer and Central Alberta.
Ready to start your project?
Book a free 15-minute discovery call. We'll walk through your vision, budget, and timeline.