
Tub to Shower Conversion: Cost and Process
What a tub to shower conversion costs in Red Deer, how the work actually runs, and the waterproofing detail that decides whether it lasts.
By David Hutten, Owner, Green Ladder Contractors
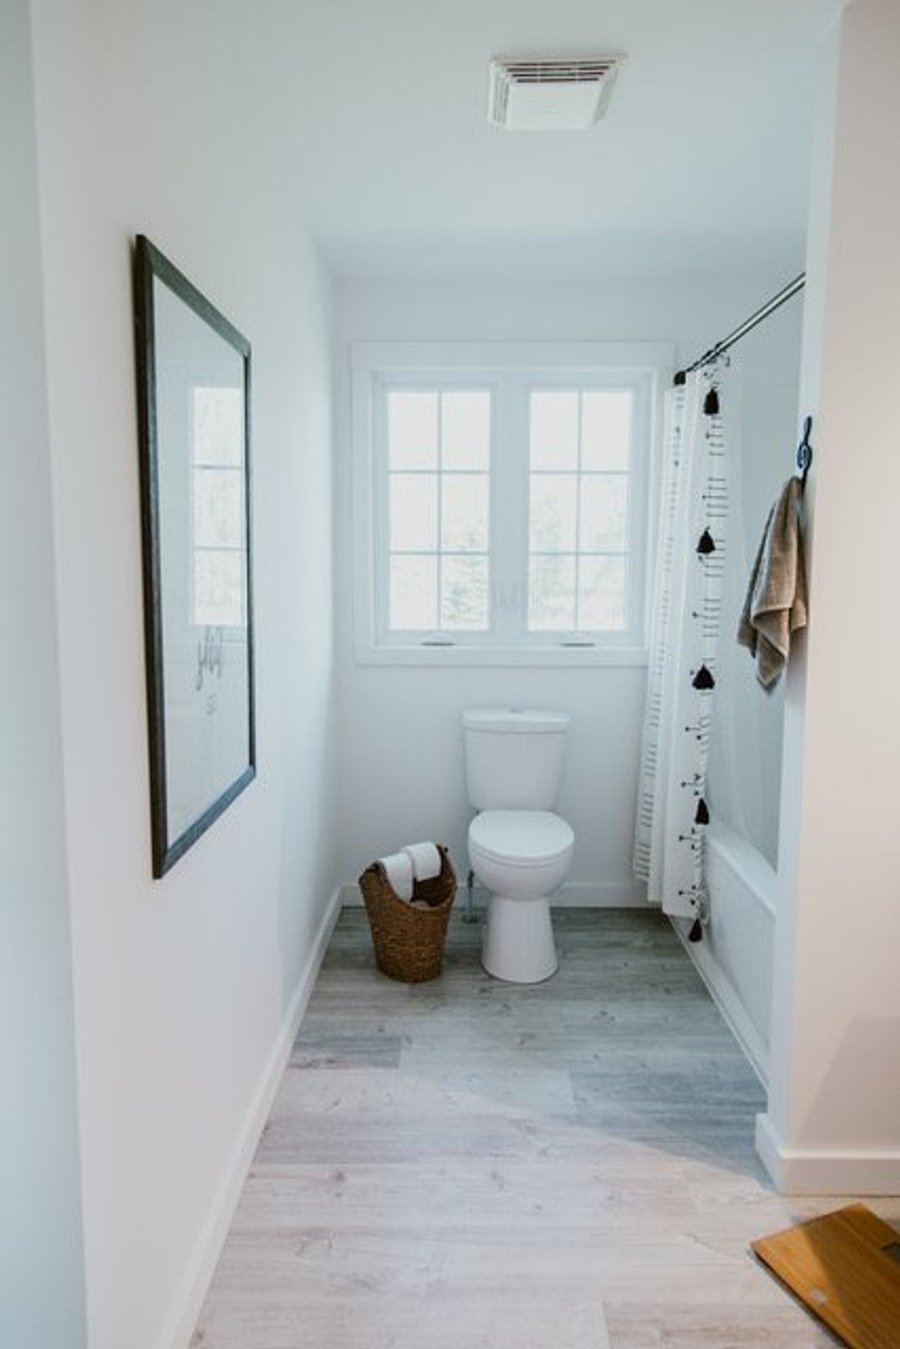
This is one of the most requested changes we get in a bathroom, and one of the easiest to do badly. The work itself is not complicated. The waterproofing is, and once the tile is on you have no way of checking it.
What Drives the Cost
We do not publish a range for this, because the same three words on a quote can describe very different work. What is worth understanding is the order of magnitude between the options, so here is how they stack up.
A prefabricated acrylic or fibreglass base and surround, in the same footprint, is the least expensive route by a clear margin. It is also, worth saying plainly, genuinely watertight the day it goes in, with far fewer places to get it wrong.
A tiled shower on a properly waterproofed base, same footprint, is meaningfully more. Most of that difference is labour: the waterproofing system, the setting, the grouting and the cure time.
A tiled shower with a curbless or low threshold entry, a bench, a niche and custom glass is the most expensive by some distance, and the gap is larger than people expect. A curbless entry means working within the floor structure, and custom glass is templated and fabricated after the tile is finished.
Two things move the number more than the finishes do: whether the drain has to move, and what we find when the old surround comes off. A wet wall with soft framing at the base is common in Central Alberta homes of a certain age, and it has to be dealt with before anything goes back on.
Should You Keep One Tub in the House?
Worth thinking about before you commit. If this is the only tub in the home, removing it can matter at resale, particularly to buyers with small children. If you have a second full bath with a tub, it is a non-issue. We would rather raise it now than have you think about it in three years.
How the Work Runs
Day 1 to 2: demo. Tub, surround and the wall board behind it come out. Everything back to studs. This is where we find whatever the last thirty years have done, and in a surprising number of Central Alberta homes there is some degree of soft framing at the base of the wet wall (usually the corner nearest the valve).
Day 2 to 3: plumbing. The tub spout is removed and capped, the valve is usually replaced with a proper pressure balanced or thermostatic shower valve, and the drain is reworked. A tub drain and a shower drain do not sit in the same place and are not the same size, so this involves opening the floor. Rough-in gets inspected before anything closes.
Day 3 to 5: base and waterproofing. This is the whole job. More below.
Day 5 to 8: tile and grout. Setting, then grout, then cure time before anything gets wet.
Day 8 to 10: glass, fixtures, trim. Glass is measured after tile is finished and set, not before, so there is usually a week between templating and installation for a custom enclosure. A standard sliding or pivot door off the shelf avoids that wait.
Two to three weeks all in for a tiled shower, less than a week for a prefab unit.
The Part That Decides Whether It Lasts
A tiled shower is not waterproof because it is tiled. Tile and grout are both porous. The waterproofing is a separate system underneath, and it either exists and is continuous or it does not.
That means a proper sloped base, either a pre-formed foam pan or a mortar bed sloped a quarter inch per foot to the drain, and a bonded waterproofing membrane, either a sheet membrane or a liquid applied one, carried up the walls, into the corners, around the curb, and sealed to the drain flange. Corners and the curb are where failures start, because they are where the membrane has to change direction.
A niche is a hole in your shower wall, so it gets waterproofed as its own little box and sloped very slightly forward so water leaves instead of sitting. A bench is the same problem in a bigger form and needs to be waterproofed as a unit, not skinned afterwards.
Backer board is not waterproofing. Cement board is a good substrate and it will happily pass water through to the framing behind it. This is the single most common shortcut, and the failure shows up two to five years later as a soft spot at the base of the wall or a stain on the ceiling below.
We use screws instead of nails on the substrate, keep fasteners out of the waterproofed zone wherever the system calls for it, and follow the membrane manufacturer's detail at the drain (Schluter's Kerdi drain and a Kerdi membrane, for instance, are designed as one system). A mismatched drain and membrane is the other common failure.
What Goes Wrong
Slope that runs to a low spot instead of the drain, so water stands. A membrane that stops at the top of the base instead of running up the walls. An unsealed corner. A curb waterproofed on top but not on the inside face. Glass drilled through tile into an unsealed wall. A fan that is too small (we wrote a whole separate piece on that one, because plenty of bathrooms fail without any leak at all).
None of these are visible when the job is handed over. All of them are cheap to do right and expensive to fix later, so ask whoever is quoting you to walk you through how they waterproof. A good answer takes about two minutes!
If you are planning a conversion and want to know what is behind your existing tub before you budget it, that is worth a look first.
Bathroom Renovations
Bathroom renovations and remodels in Red Deer and Central Alberta, with proper waterproofing behind the tile.
See Our Bathroom Renovations Work →Before you sign a quote: What a complete bathroom quote includes
Ones we built
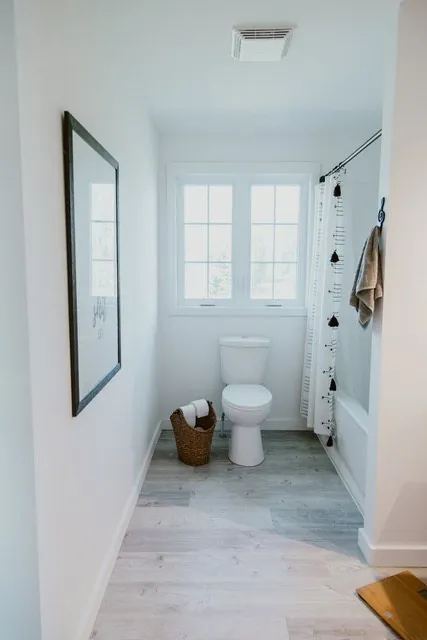
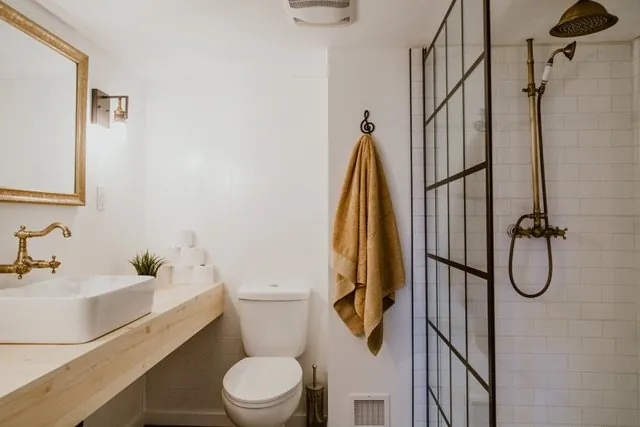
More from the Green Ladder Blog
David Hutten
Owner, Green Ladder Contractors
David Hutten started building at age 10 and has 25 years of hands-on construction experience. Green Ladder Contractors builds custom outdoor living spaces, decks, fences, pergolas, and landscaping, across Red Deer and Central Alberta.
Ready to start your project?
Book a free 15-minute discovery call. We'll walk through your vision, budget, and timeline.